

KW11-3Z Micro Limit Switch with Lever – 2-Pin Normally Open 5A 250VAC

- Brand NZN Electronics
Verified specifications
- Brand
- NZN Electronics
Taken from this product's published details. If something is not listed here, it has not been verified.
Ask AI about this product
Answers use this product's information and the store's details. If it cannot be confirmed, it will point you to our team.
Any language. Press Enter to ask
Overview
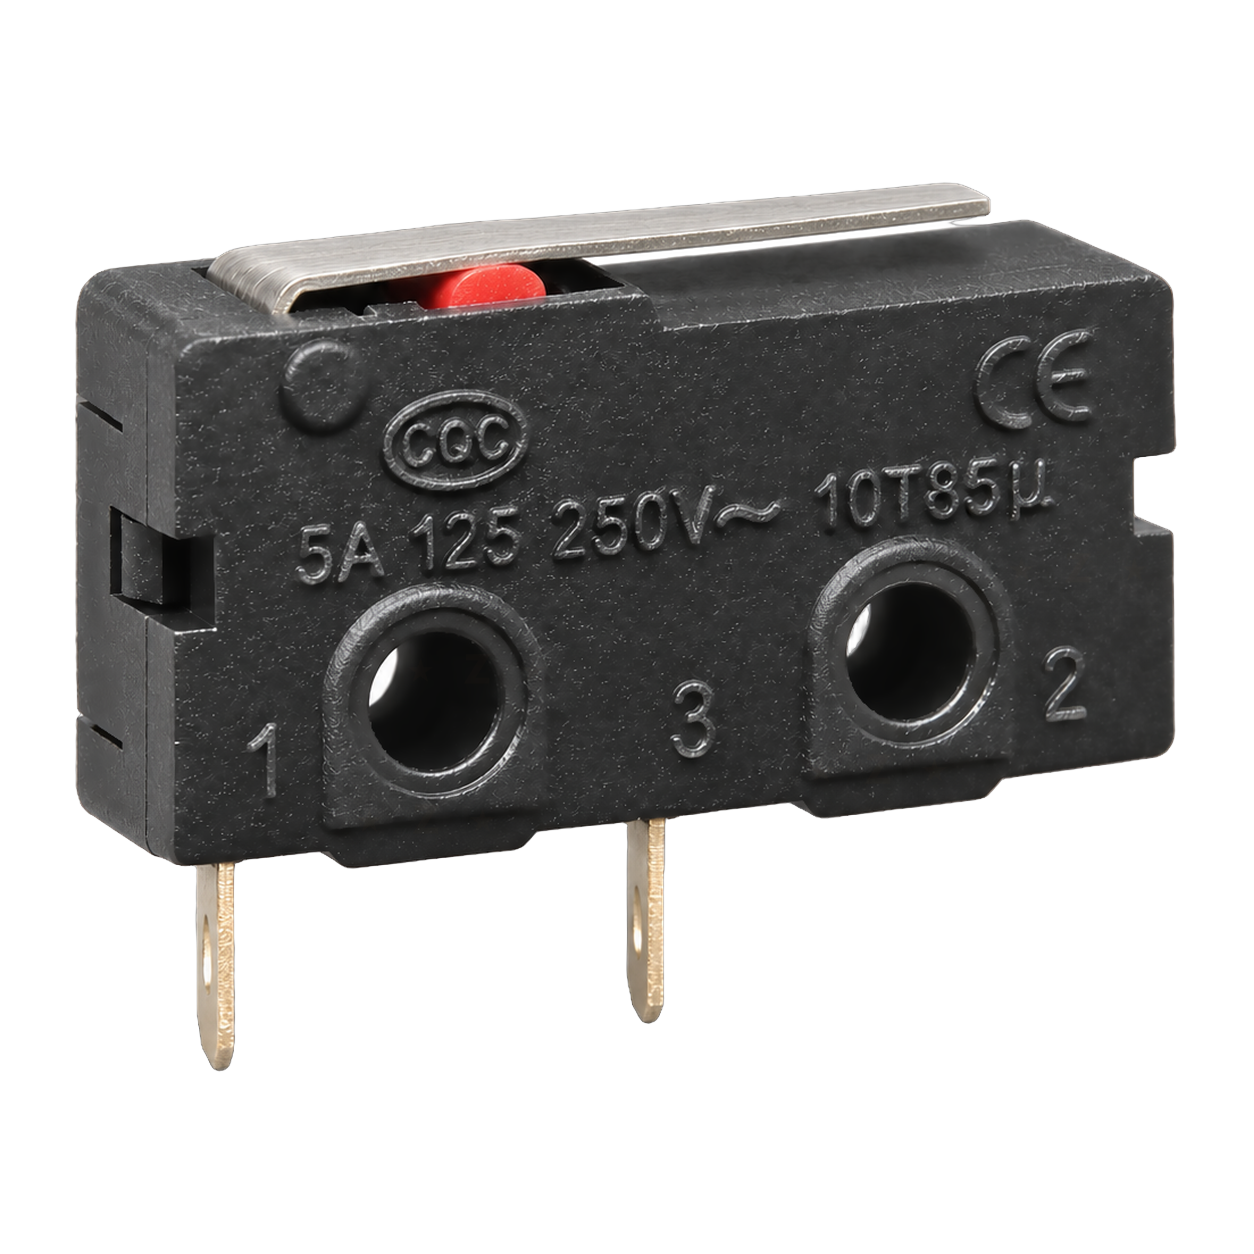
A micro limit switch is a small switch that clicks over when something presses its lever, so a controller knows a moving part has reached a set point. This KW11-3Z has a straight steel lever about 16mm long and only two tabs, common and normally open, so the circuit closes while the lever is pressed and opens again when it is released. With one contact and two wires it is the simplest way to give a board a pressed or not pressed signal.
Use it to sense a lid, door or drawer closing, as an end-of-travel or home switch in an Arduino or ESP32 project, or as a bump sensor on a small robot. It connects straight to 3.3V and 5V board inputs with no extra parts, and mounts with two M2 screws. Push female spade connectors onto the tabs, or hook each wire through the hole in its tab and solder it. If you want a normally closed contact too, for an endstop where a broken wire should read as pressed, take the SC7301 3-pin lever switch. The same body also comes with a roller lever and with no lever, both with three pins.
Specifications
Datasheets
Wiring & getting started
Wiring diagramArduino Nano

-
Find the two tabs
Hold the switch with the numbered face towards you and the lever pivot on the left. Tab 1 at the pivot end is COM and tab 3 in the middle is NO. On the back face the same two tabs are marked C and NO. The far end, marked 2 and NC, has no tab.
-
Connect the wires
Wire C to GND and NO to D2 on an Arduino Nano or Uno, as in the drawing. On an ESP32 or Raspberry Pi Pico, use GND and any input pin and change the pin number in the code. The switch carries no voltage of its own, so 3.3V boards are fine.
-
Load the test code
Upload this sketch, then open the Serial Monitor at 9600 baud.
Example Arduino codeArduino C++
// KW11-3Z 2-pin lever switch test. Wire C to GND and NO to D2. const int SWITCH_PIN = 2; bool wasPressed = false; void setup() { pinMode(SWITCH_PIN, INPUT_PULLUP); // uses the Nano's built-in resistor Serial.begin(9600); Serial.println("Ready. Press the lever."); } void loop() { bool pressed = digitalRead(SWITCH_PIN) == LOW; // LOW while the lever is pressed if (pressed != wasPressed) { Serial.println(pressed ? "PRESSED" : "RELEASED"); wasPressed = pressed; delay(20); // ignore contact bounce } } -
Check it works
Press the lever and the Serial Monitor shows PRESSED. Let go and it shows RELEASED. If nothing changes, check that the wires are on the C and NO tabs and that NO goes to the pin named in the code.
-
Mount it
Fix the switch with two M2 screws so the moving part presses the lever near its tip at the end of travel. Leave a little travel past the click, so the part stops on its own end stop and never jams against the switch body.
Note: For mains wiring, fit the switch inside an enclosure and have a licensed electrician do the work.
Specification
| CLICK IT SKU | CLICK-IT-336618 |
|---|---|
| Brand | NZN Electronics |
Features
A micro limit switch is a small switch that clicks over when something presses its lever, so a controller knows a moving part has reached a set point. This KW11-3Z has a straight steel lever about 16mm long and only two tabs, common and normally…
- Brand NZN Electronics
Reviews
Do you own this product?
Only logged in customers who have purchased this product may leave a review.
Combo deals: buy together and save!
Add these products in one go - the total updates as you tick each item.