


Description
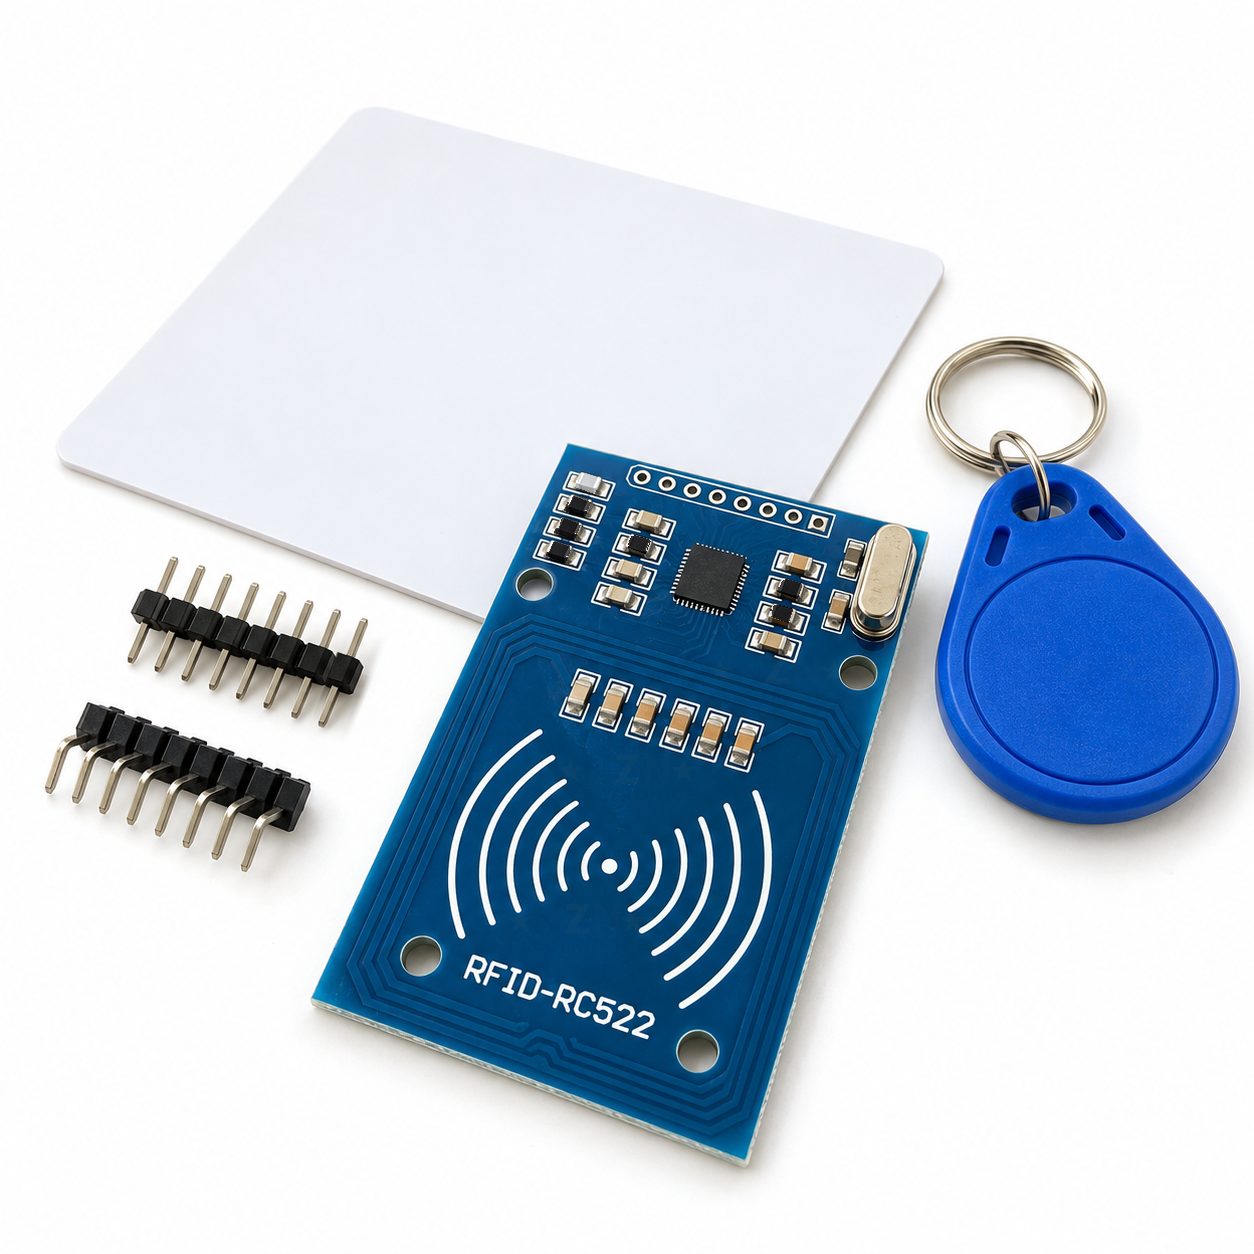
An RC522 RFID reader kit for reading and writing 13.56 MHz cards and key fob tags with an Arduino, ESP32 or Raspberry Pi Pico. The reader connects over SPI and comes with a blank card, a key fob tag and two 8-pin headers, so you can read your first card number as soon as a header is soldered on. It runs from 3.3V: on an ESP32 or Pico it wires straight across, and on a 5V Arduino you power it from the 3.3V pin.
Specifications
Datasheets
What’s in the box
Header holes empty, ready for you to solder the header you prefer.
Credit-card size, 13.56 MHz, no printing.
On a silver split ring, 13.56 MHz.
One straight and one right-angle, loose. Jumper wires and the microcontroller are not included.
Great for
Wiring & getting started
-
Fit a header
Solder the straight header to stand the reader in a breadboard, or the right-angle header to lie it flat. Solder all eight pins.
-
Wire it to 3.3V
3.3V to 3.3V and GND to GND. On an Uno or Nano: SDA to D10, SCK to D13, MOSI to D11, MISO to D12, RST to D9. On an ESP32: SDA to GPIO5, SCK to GPIO18, MOSI to GPIO23, MISO to GPIO19, RST to GPIO22. Leave IRQ unconnected.
-
Install the library
In the Arduino IDE open Tools > Manage Libraries, search MFRC522 and install it.
-
Read a card
Upload the test sketch from the Quick Start, open the Serial Monitor at 115200 baud and lay the card flat on the antenna. Its number prints straight away.
Note: A 5V Arduino sends 5V on SDA, SCK, MOSI and RST. Most readers cope, but for a build you will keep, fit a level shifter or a 1 kΩ and 2 kΩ divider on those four wires. The datasheet shows how.







Reviews
There are no reviews yet.